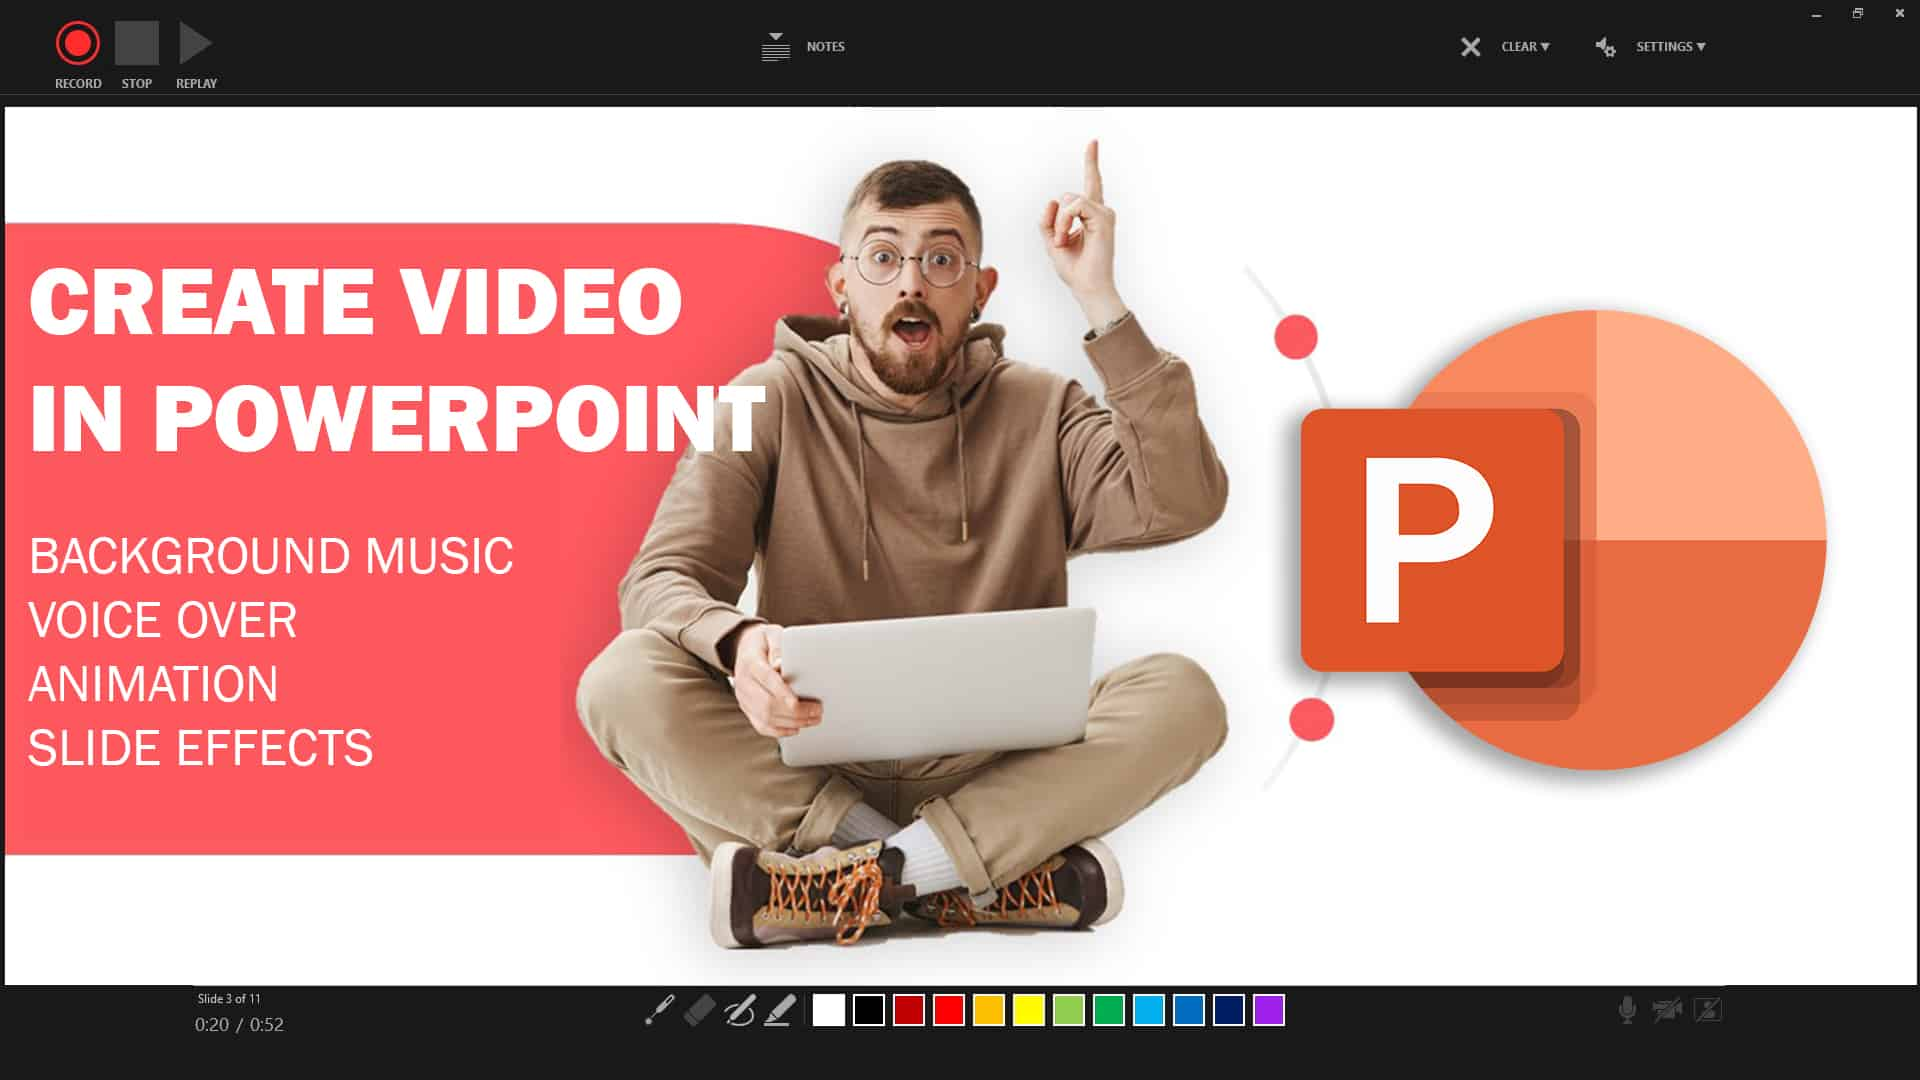
In this tutorial You will learn how you can take your PowerPoint presentation into a video, PowerPoint has great features to turn your static animated or even vice over presentation into a videos format like mp4 and WMV you can upload on YouTube, Facebook, or any social media platform or anywhere you want like webinars or online classes.
We are using PowerPoint 2019 if you have an older version don't worry but make sure you have at least the 2007 version.
Before starting the tutorial you can watch this tutorial as well. Very simple and easy steps to understand.
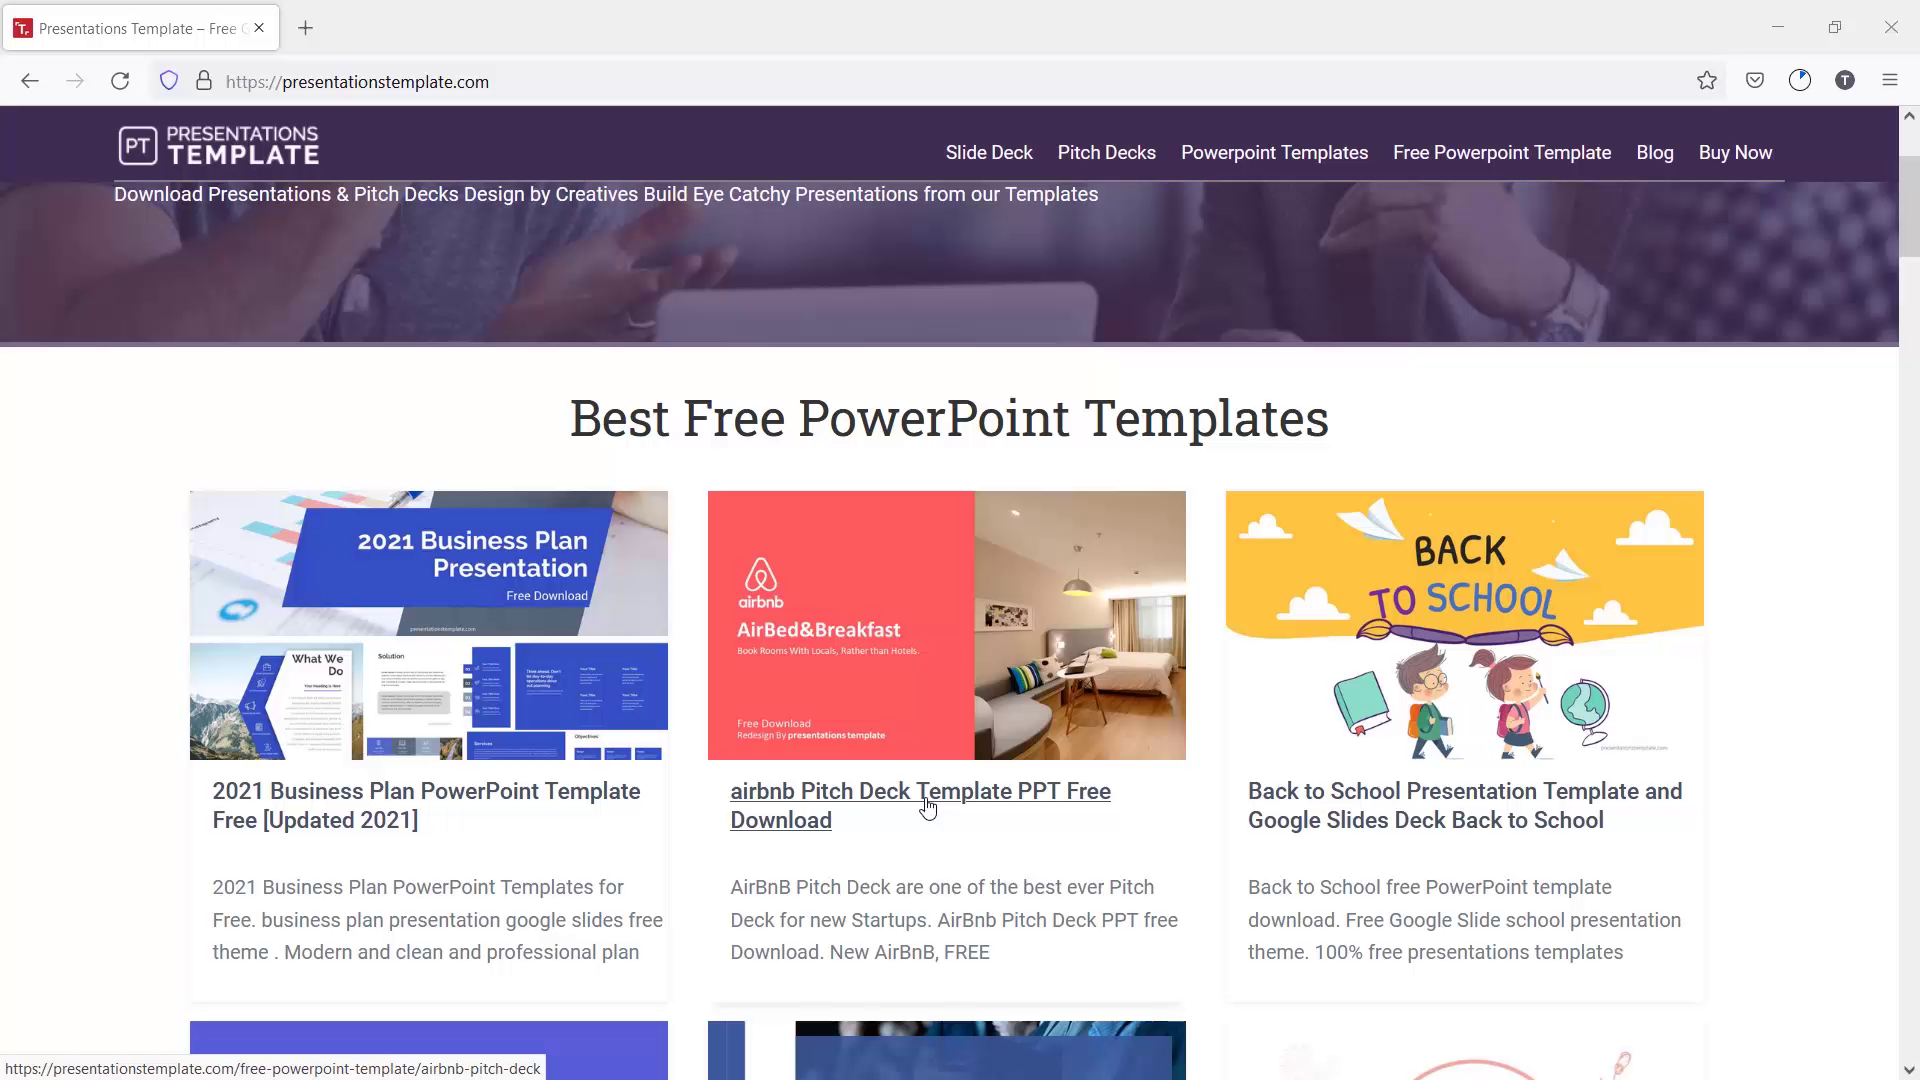
Step1: Downloaded presentation from presentationtemplate.com
Airbnb pitch deck template absolutely free template for download. It has 17 slides. We will work on 11 slides to show a quick demo of how to create a video in PowerPoint.
Step2: Add slide Transition
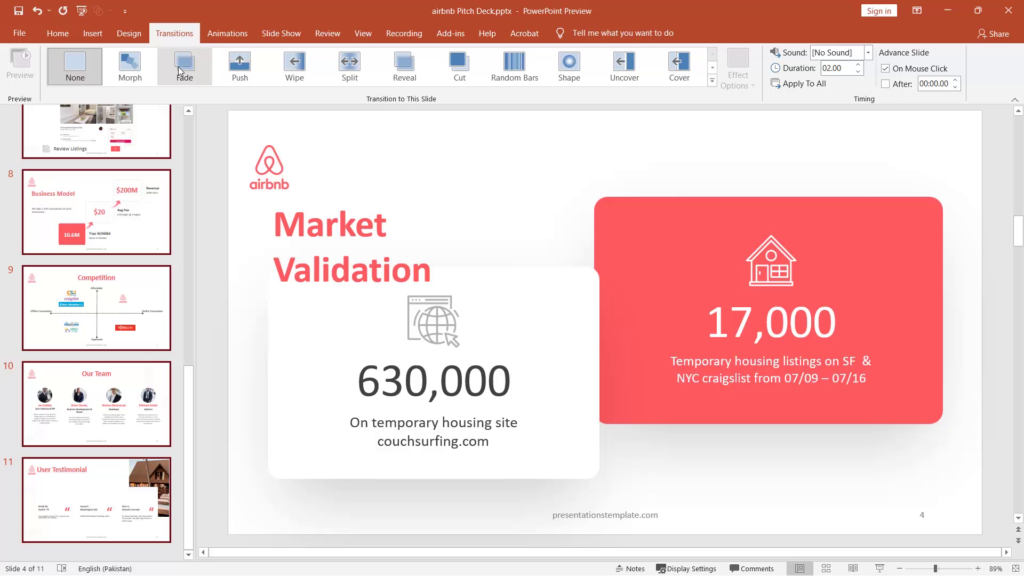
Go to the first slide and select all the slides by use of shortcut Ctrl+A next go to the transition tab and select any transition for a suitable presentation.
Select fade transition.
Let's show you how it looks with the transition as you can see it is moving very smoothly with fade animation you can increase you can slow down and fast forward the fade transition.
Step:3 Add animation
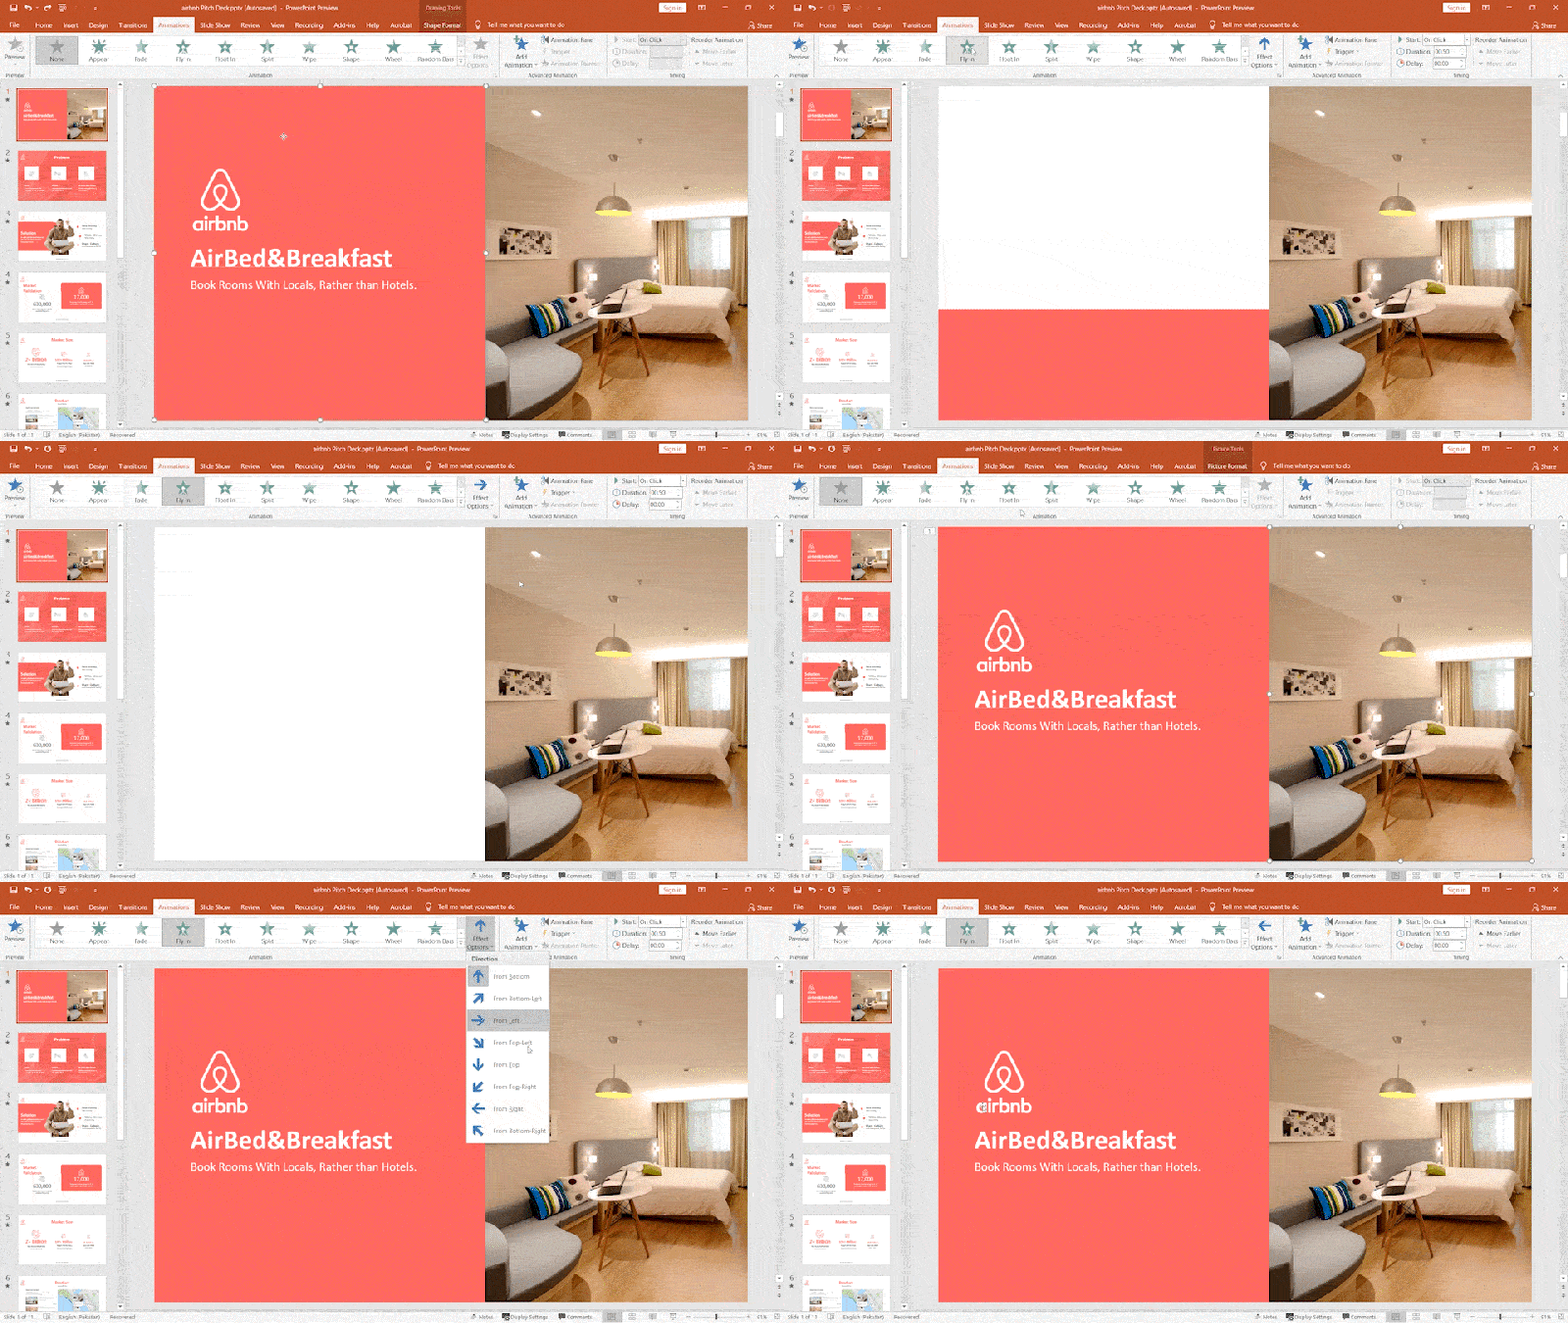
Add animation to more impress your audience go to the animation tab and apply fade animation onto front elements and fly-in animation on background elements.
Select object clicks fly-in on to the left-hand side click the background image and fly in and it will come from the right-hand side.
Select all the front elements and click fade animation. Go to the animation pane you can see all of the animations. I did select picture and rectangle and click on with previous and select all the front object and click on to after previous.
Step 4: let's export the video in mp4 format (without narration and Background Music)
Go to the file click Export and create a video. There are multiple options you can export the video full HD 1080, ultra 4K HD, and 720p HD. I am going to use full HD 1080 for better quality.
Click on create a video a pop-up window appears.
Save the video in mp4 format or WMV. Use mp4 format for uploading the videos now click save it might take some time for entering the video so we will wait for it until it's done.
It has just finished and open the folder where the video is saved. let's play the video on how it looks after the rendering and check the quality of the video the PowerPoint has produced.
The video has No background music nor Narrations without background music and narrations it will not impact your audience.
Step 5: Add voiceover (narration)
let's move on to the second method where we will add narrations and background music for a final touch.
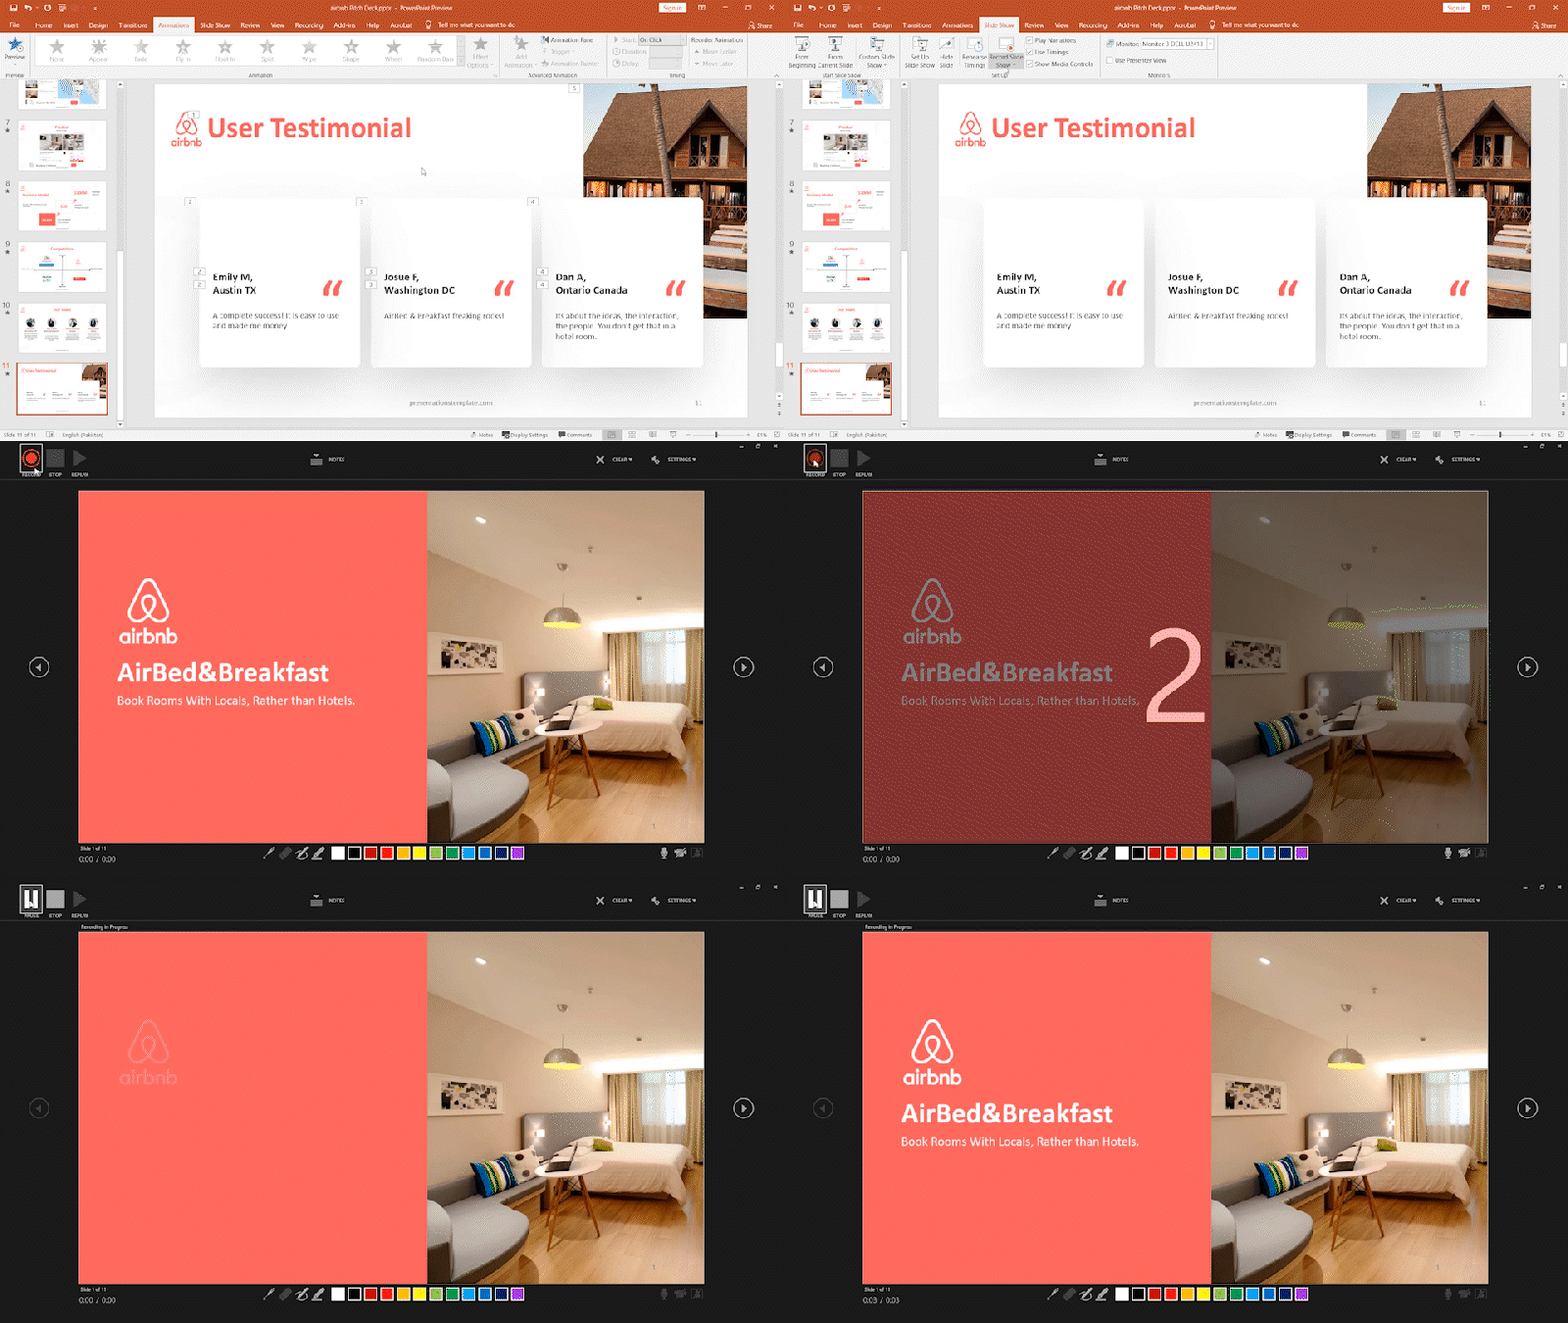
Go to the slideshow and click on Record slideshow let's quick overview of this window on the left-hand side has a record button to record narrations
let's start the narration and record the voiceover
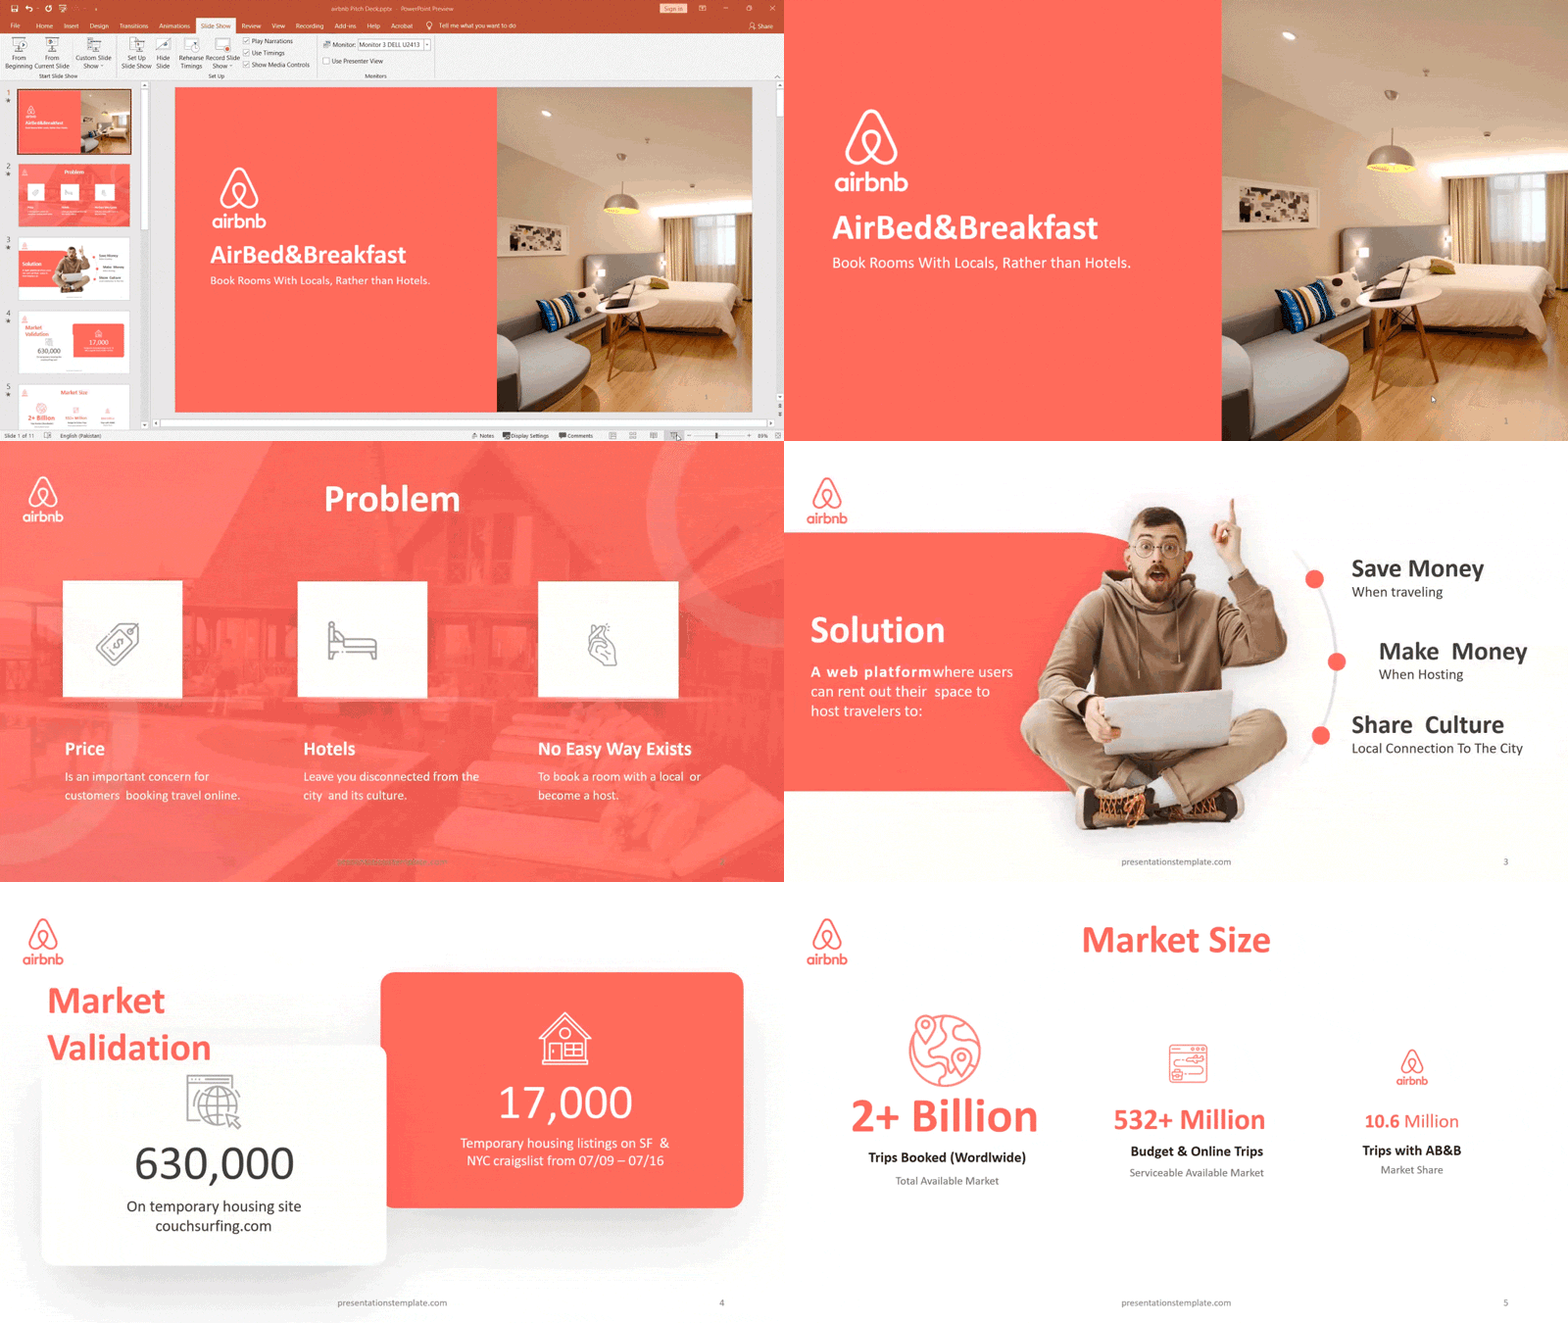
“welcome to air bed and breakfast book rooms with locals rather than hotels”
(Slide 1)
"price is an important concern for customers booking travel online hotels leave your disconnected from the city and its culture no easy way exists to book a room with locals or become a host"
Slide 2
"A web platform where users can rent their spaces save money when traveling make money when hosting and share culture with locals to the cities"
Slide 3
"market validation 630 000 on temporary housing site 17 000 temporary housing listing on SF and NYC craigslist"
Slide 4
our products you can search by city
Slide 5
and you can review the listing
Slide 6
Stopped the recording and close the window when it's done.
Step 6: Voice Trim of video
At bottom of the right-hand side voice icon means, narrated the voice for this slide.
It has some delay of narration so you can crop the voice in PowerPoint as well.
Go to the playback section and in the editing section click trim audio.
you can see the silence very long so you can trim it out click on it and drag this to the right like this and click ok. now let's play let me play.
Step 7: Add the Background Music
Go to the insert tab in the media section click audio. Click Audio on my pc downloaded this background music. Here is a link to download.
Play in the background so in audio styles you can click on play in the background. It will play in all the slides.
reduce the voice a little so it will play in the background like music. let's show you the final video before the final render.
let me play
let's stop the preview and the preview is working perfectly fine
Step 8: Export the Video
Export the video go to the file click export create a video this time same as full HD.
this time I have recorded timing and narration. click create a video now save as click save again it will take time and I will show you the final video when it's complete
the render has been completed let's show you the final video
now you can upload this video on youtube or anywhere you want if you want
